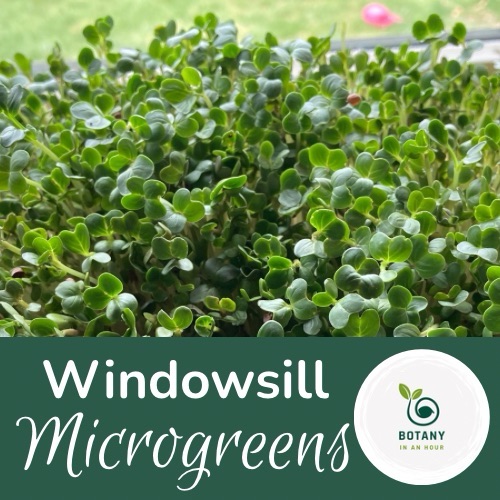
It may be cold and dreary outside, but you can have your own fresh microgreens all winter long. What are the advantages of growing greens this way? They are easy to harvest and they brighten your home with a spot of green and help clean the air while they are growing.
All you need is two old pie plates, a little soil, and some seeds. I like radish, kale, broccoli, or pea seeds.
Let’s get started.
Supplies Needed:
- Two glass pie plates. Glass is best here as metal, ceramic, or plastic can harbor bacteria, but use what you have. If you aren’t using glass, don’t plan to use anything that you want to use for food later.
- Soil. Any regular potting soil will do. You
- A few sheets of newspaper, butcher paper, or packing paper slightly wider than the diameter or width of your container. This will be used to cover your seeds and keep them moist.
- Seeds! Radish, kale, broccoli, or pea are my favorites.
Before you Begin:
It’s easy to get started. But you need to do 2 things before planting.
- Soak your seeds in a small bowl for 6-24 hours.
- Moisten your soil with a little water before planting. You can do this straight in your pie plate, or in another container. Let it sit for at least 1 hour to hydrate.
How to Start Your Window Garden:
Once you have gathered your supplies, soaked your seeds, and moistened your soil, you are ready to plant. Follow these steps:
- Cut a paper cover such as newspaper, paper towel, or napkin to the size of your sprouting container. The cover should be large enough to cover the container and block the light.
- Soak/moisten the paper cover.
- Rinse seeds if slimy from soaking.
- Sprinkle the seeds densely on the surface of the soil. They should mostly cover the top of the soil. Do not press down into the soil or cover with dirt.
- Cover the seeds with the moistened paper cover. Cover well so that the wet paper touches the seeds and blocks the light.
- Keep covered 2-3 days in a warm, dark place. Spritz or remoisten the paper or soil as needed if it dries out. Ideal temp is 65-70 degrees.

After several days, once the seedlings sprout and begin to push the paper up like a lid, remove the paper and move to a sunny window. Keep them in the dark up to this point. We don’t want them to get any sunlight yet, as we want them to push up tall to look for the light.

When you remove the paper, the shoots will be yellow from being in the dark, but that is okay. As soon as you move them to the window, the sun will activate the chlorophyll and they will begin to green up nicely (see comparison photo below).

Keep the soil most as they grow and water the soil directly to keep it lightly moistened (don’t sprinkle water on top of the seedlings).
After 3-7 days of being in a sunny window, once the shoots are green and tall, but before their first set of true leaves come out, harvest by snipping at the base of the green just above the dirt. Do not pull them up by the roots.
How to use your microgreens:

Enjoy your fresh microgreens to salads, soups, and sandwiches. This is a good way to get some extra greens during the winter and they are full of nutrition since even though they are small, they have all the nutrients that the baby seedling would utilize to grow available to digest by your body.
To learn more about sprouting seeds…
I like this book – Year-Round Indoor Salad Gardening by Peter Burke. Click the affiliate link below (see full Disclosures and Disclaimers here).

Leave a Reply